component over scart
context backstory etc yada yada
lately ive been diving deep intro retro gaming. i picked up a pvm 20m2u and started collecting retro video game consoles. one interesting thing about this crt is its input capabilities. thankfully, it supports a number of input formats (albeit through BNC for most), such as composite (yuck), s-video (meh), component (yay), and rgb (yay). to get the best picture out of your retro consoles, it's best to use component or rgb. the only difference is region: component was mainly used in NTSC region and RGB in PAL. i won't go into detail about why, there are tons of blogs and comparisons images online a search away.
i have this cool switcher (think KVM) that automatically switches the input to an active source and outputs over one output, so i never have to change the cables in the back of the crt. it also doesn't help that the pvm only has one set of BNC inputs for RGB/component. for most consoles, it's been as easy as ordering a <x console> to SCART adapter. i currently have a MiSTer, japanese PS2, og xbox, and a gamecube. the problem comes with the gamecube. i dont know if im super unlucky or what, but the one gamecube i buy (which is japanese) follows the NTSC convention of offering component over it's DIGITAL port (???), instead of the analog variant. to get a non s-video / composite signal, i have to use the digital to component cable. this is fine and dandy, but the only one on amazon is through rca and not scart (which is fine.) this poses a problem, i can't use my special switcher! heres where the fun comes in
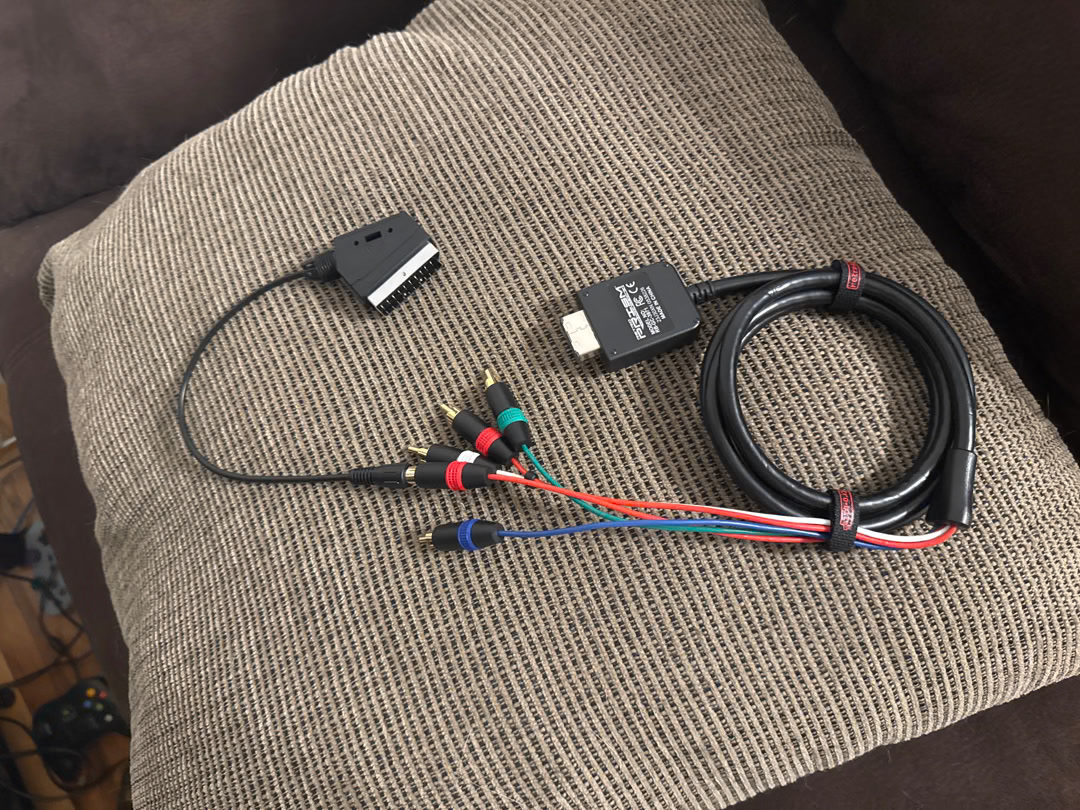
scart is just an interconnect; it provides a different form factor for sending electrical signals. there isn't anything special about the signal that it needs or does, so in theory, i could put the same analog signals that component is carrying over rca in it. an example of that cable would look something like this
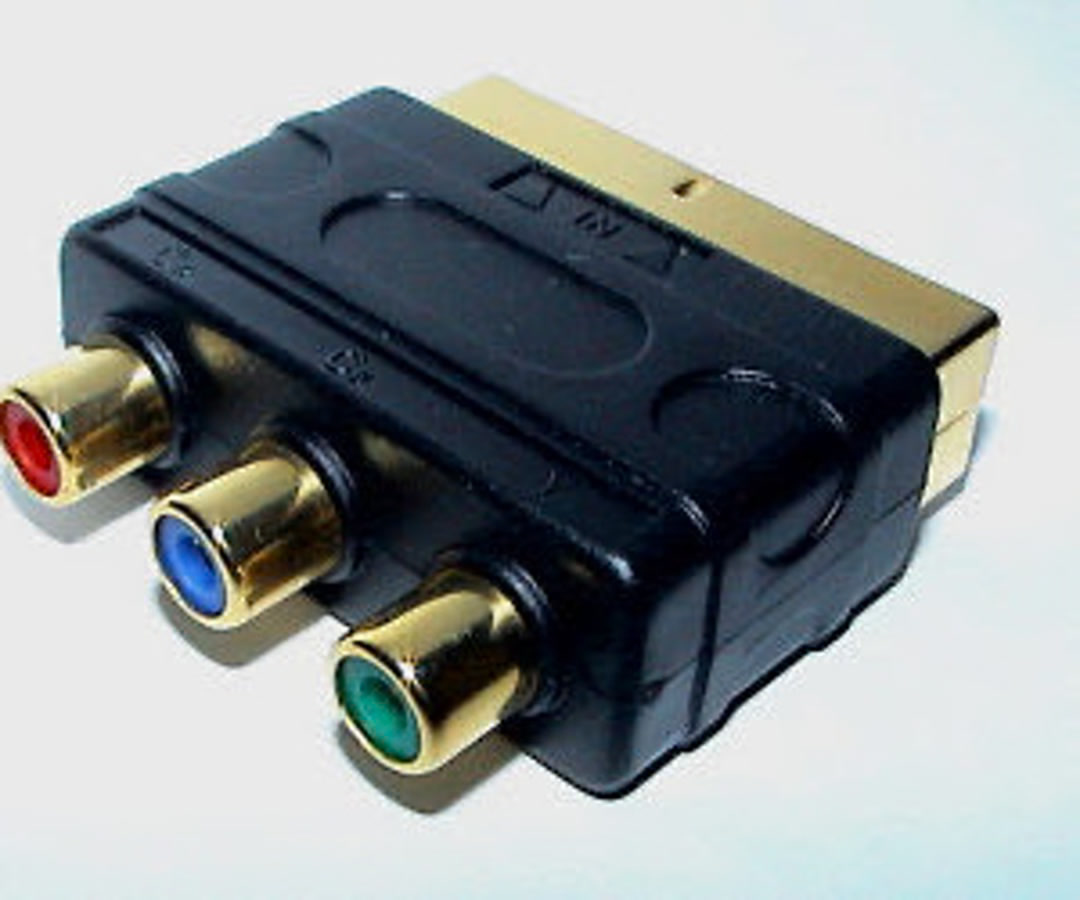
i can't find this thing anywhere online. whatever, i'll make my own.
making my own
i bought some random composite to scart adapter online and tore it apart.
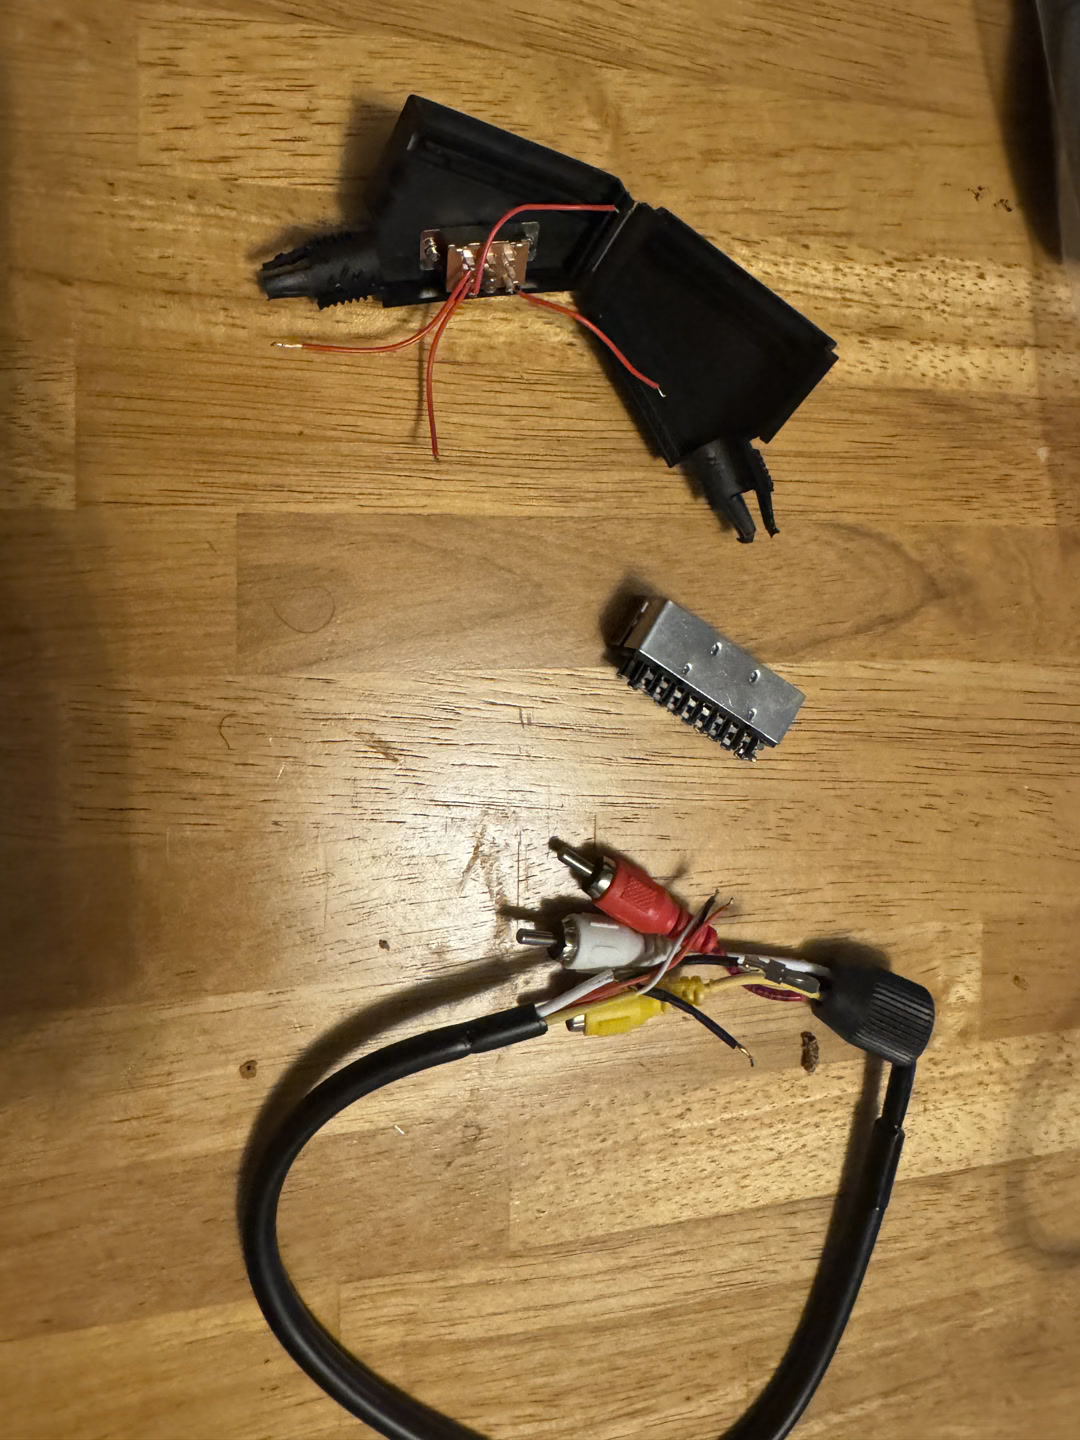
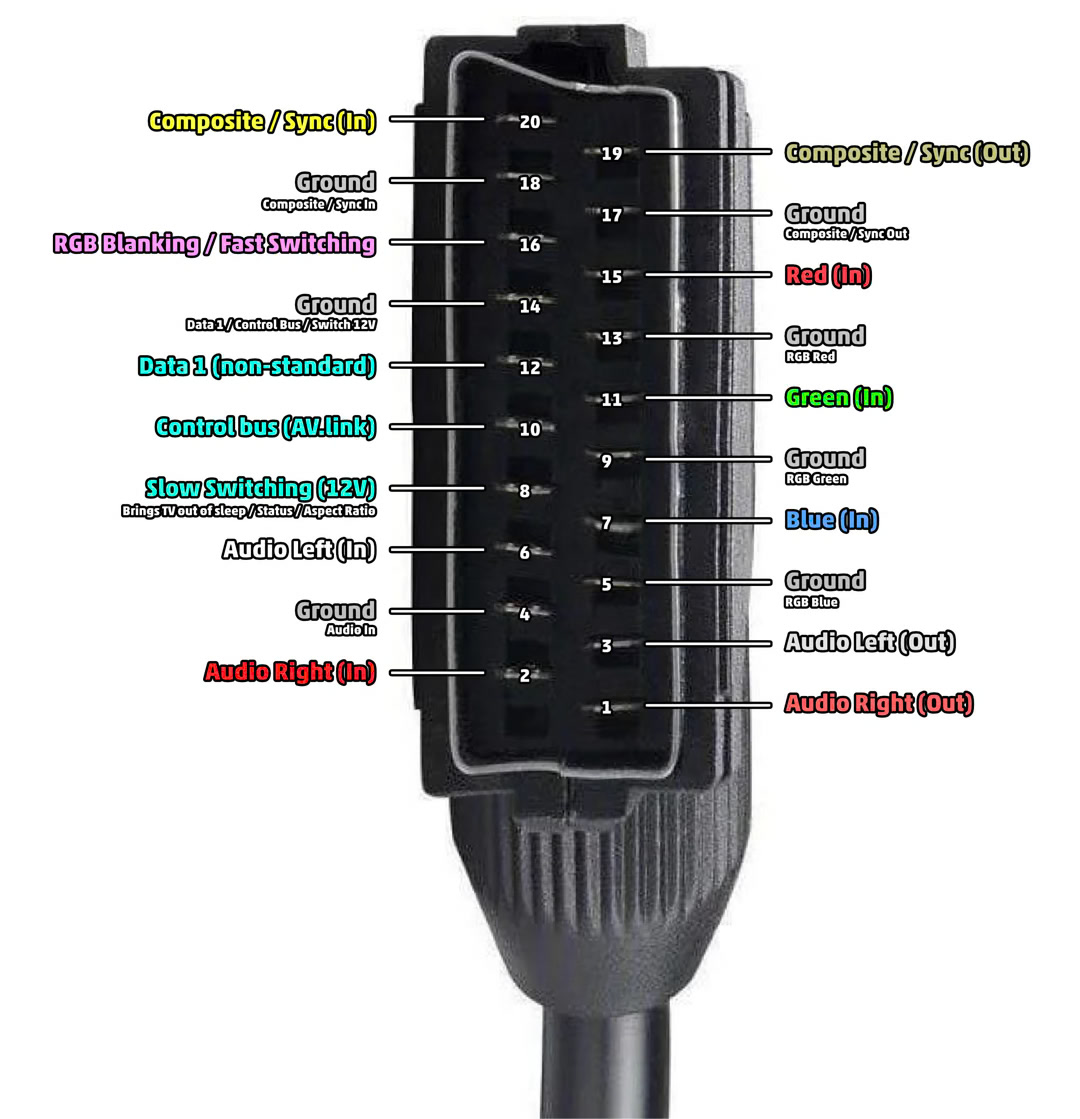
there was a switch inside that i just removed because i dont need to go back and forth, the scart end will only be the output. this all looked pretty standard though, i just need to hook up some rca receivers to the pins and i should be good to go. heres the pinout for scart
the pins are actually super easy to remove. you can push them through from the exposed side.
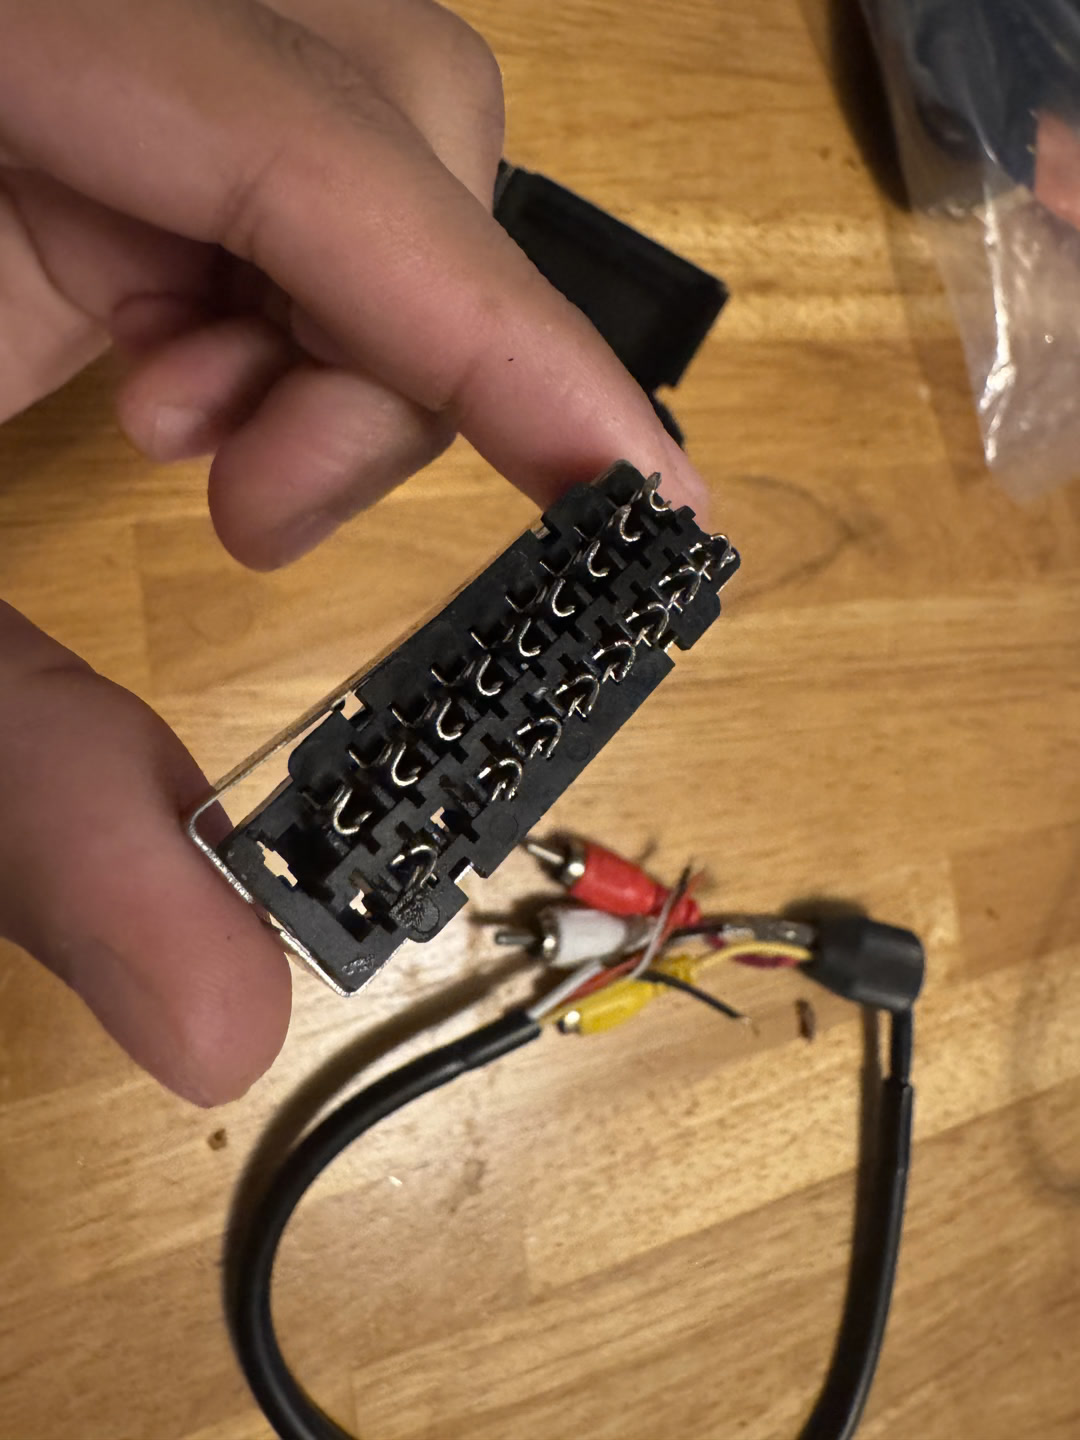
heres my setup for doing this. it's just my iphone with the magnifier open and the flash turned on. i've done a bunch of soldering before and only realized now that i could buy a scope. it doesn't help that im blind as a bat, but this made do. yes, i am soldering on the table. no i do not care. yes the table was donated.
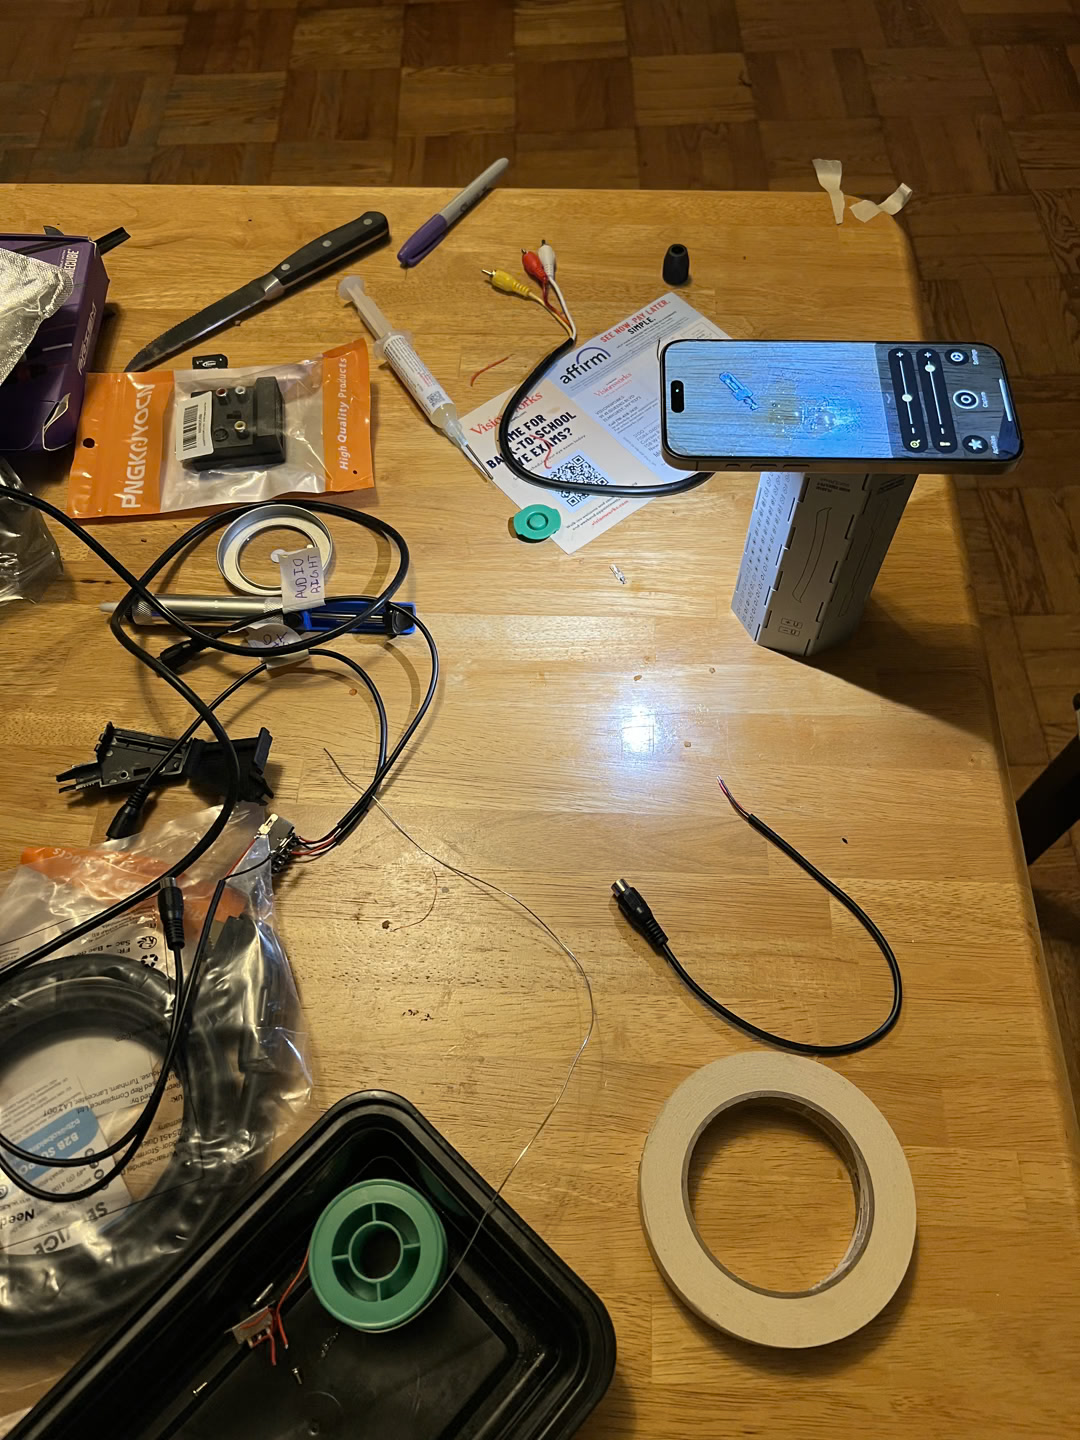
for the first test i soldered the ground (black) of a rca input to audio in (ground) and red to the left channel input line. i don't really know what to call it, and i don't remember how i know red isn't ground. i thought it was interesting that for audio in, both the left and right channel share the same ground. i need to read up more on why this is acceptible and why it's not for the color channels.
after like, 5 minutes i was ready to test on the actual console
lo and behold it worked! awesome! i didn't overlook anything and im not an idiot! that feeling was great but it lasted all of 5 seconds befor realizing i had to do 8 more solders.
after (literally) 15 minutes i had them all done (i grossly overestimated how long it would take) and labeled, heres the finished product.
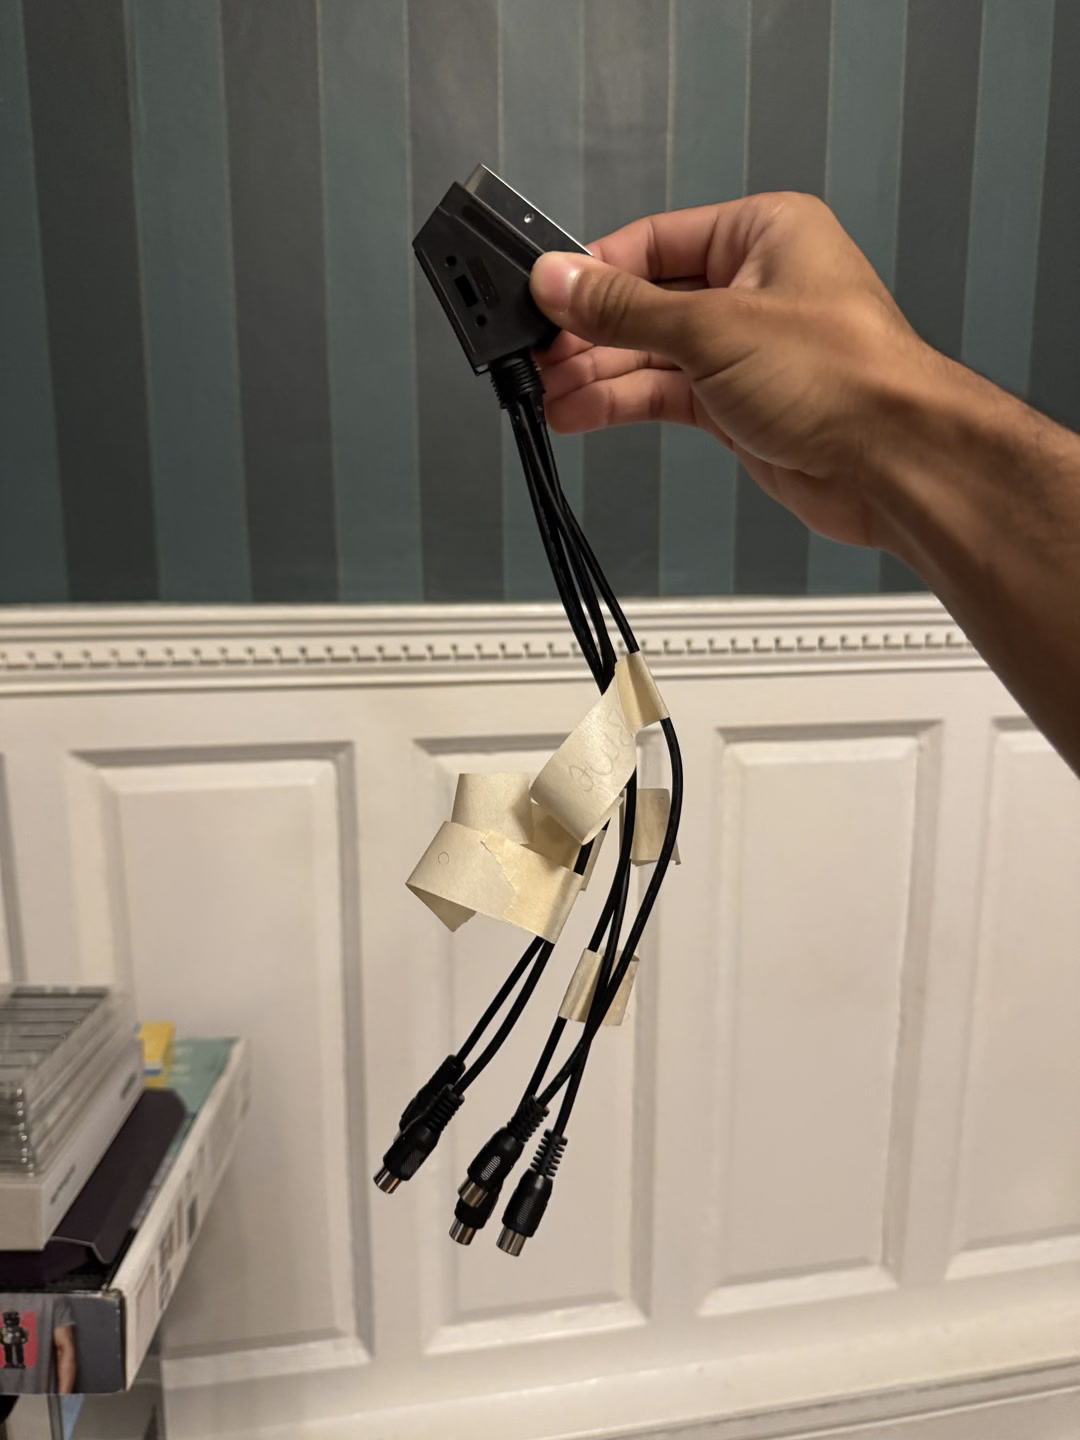
no surprises here, it worked! i was finally able to hook my gamecube up to the scart switcher and play some melee.
reflection
i need to 3d print a different case. the original opening allowed for 3 slim input wires, but 5 is pushing it, and i barely was able to close it. at some point, i should measure the dimensions and just print a new one. i don't have any experience designing joints for resin printing, so i'll have to ask around for pointers there.
its good to know that component does its sync over green rather than composite like rgb, less cables ftw!.